Creating and saving workbooks in Excel is quite easy process. Let’s walk through it and see different saving options Excel offers.
Table of Contents
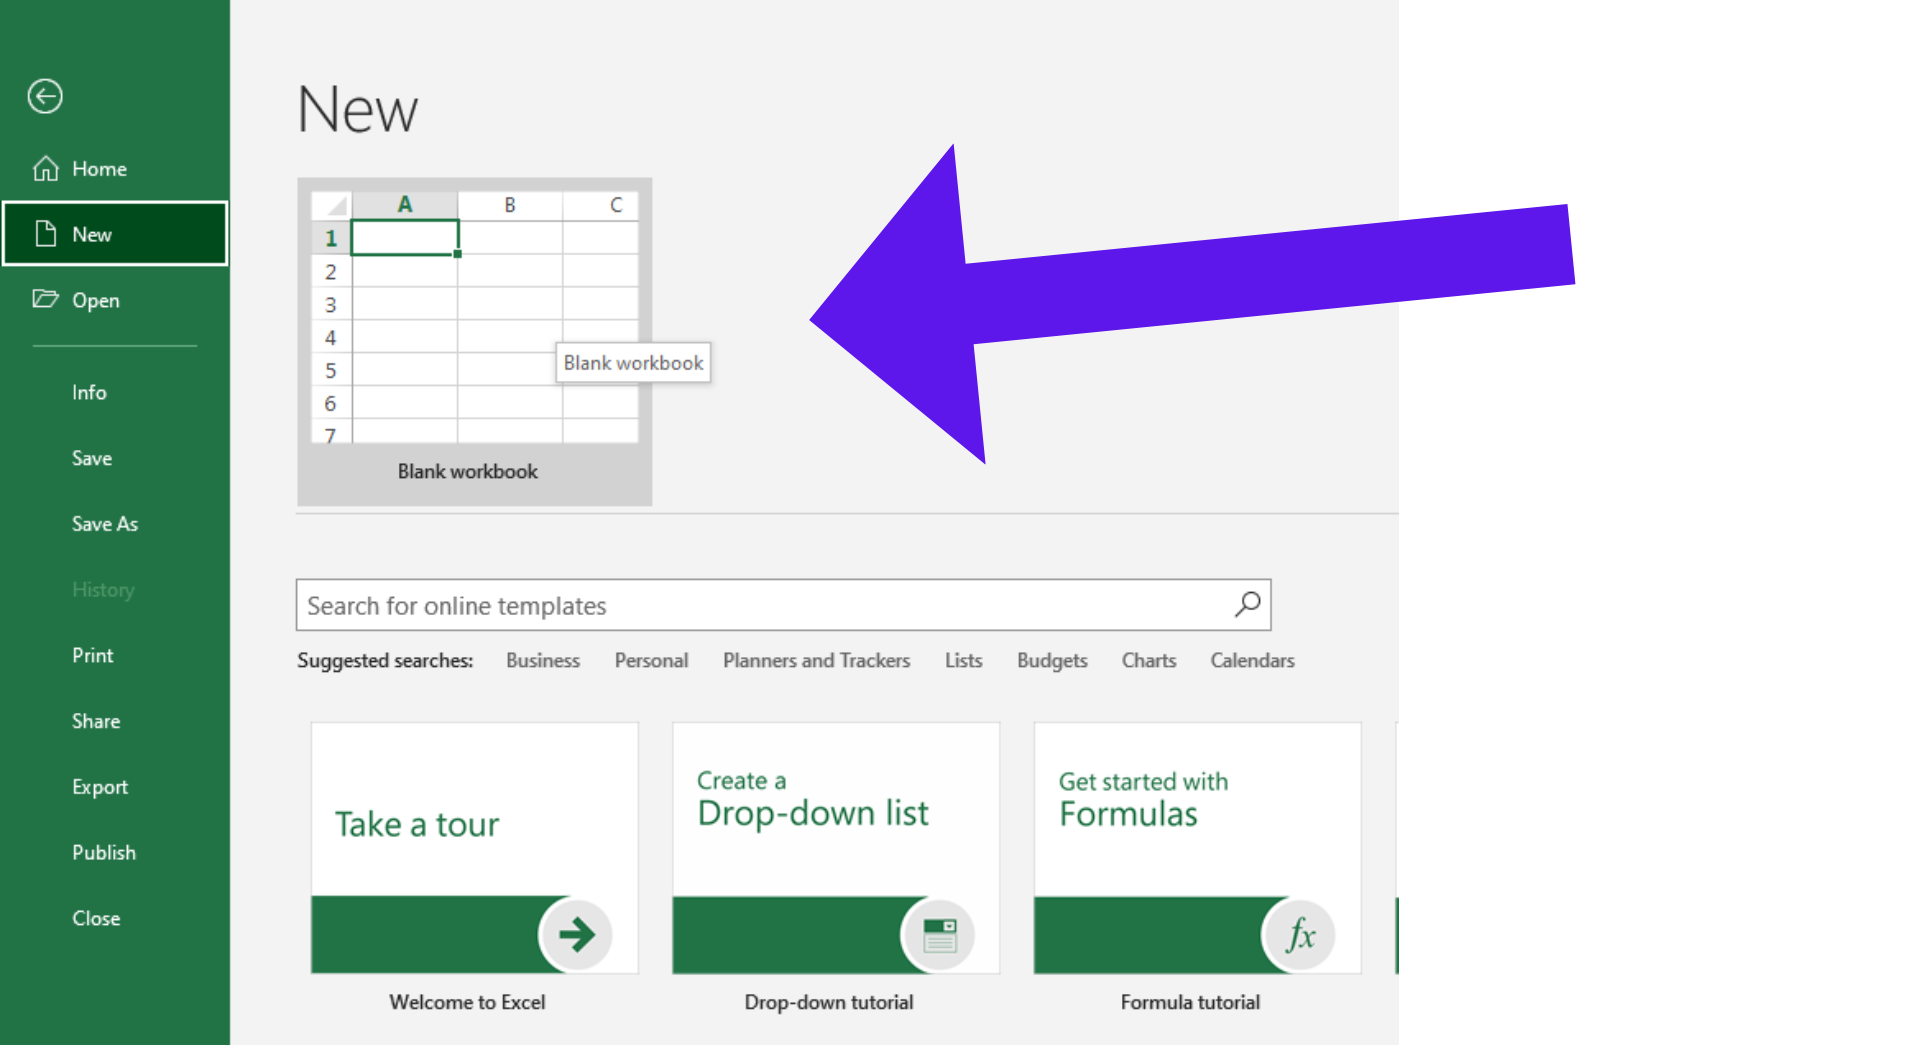
ToggleCreating a New Workbook
Excel may present you with template options for creating specific types of workbooks, such as budgets, calendars, or invoices. You can choose a template or select “Blank Workbook” to start with a blank sheet.
Just click on the “New Workbook” button on the Quick Access Toolbar, or you can go to File > New > Workbook.
Adding Worksheets
Once you have created a new workbook, you can add worksheets to it. By default, a new workbook will contain three worksheets, but you can add as many as you need. To add a new worksheet, you have 2 options:
- Right-click on an existing worksheet tab (for example, “Sheet1”) and select “Insert” from the context menu.
- Click on plus sign next to the last existing worksheet.

Entering and Formatting Data
Once you have created your workbook and added worksheets to it, you can start entering and formatting data. To enter data into a cell, simply click on the cell and type in the data you want to enter.
To format data, select the cell or cells you want to format, then go to the Home tab and select the formatting options you want to use. You can change font, font size, cell color, add borders, and much, much more.

Saving Your Workbook
Saving your workbook is a crucial step to ensure that your data and any changes made are preserved for future use. Excel provides several options for saving your workbook:
Save: To save your workbook for the first time or to overwrite an existing version, you can click on the “File” tab in the Ribbon and select “Save” or use the keyboard shortcut Ctrl + S. You will be prompted to choose a location on your computer or cloud storage to save the file. Enter a descriptive name for the workbook and click “Save.”
Save As: If you want to save a copy of your workbook with a different name or in a different location, you can use the “Save As” option. Click on the “File” tab and select “Save As.” Choose the desired location, enter a new name if necessary, and click “Save.” This creates a duplicate copy of the workbook while keeping the original intact. By default, Excel workbooks are saved as “.xlsx” files, but you can also save them as other file types, such as “.xlsm” (Macro-Enabled Workbook) or “.csv” (Comma-Separated Values), or maybe you would like to save it like an excel file but in older version (.xls).
AutoSave: Excel offers an AutoSave feature that automatically saves your workbook at regular intervals. This feature helps prevent data loss in case of unexpected computer or software issues. By default, AutoSave is enabled, but you can disable or modify its settings by going to the “File” tab, selecting “Options,” and navigating to the “Save” section.
Versions: Excel allows you to save multiple versions of your workbook by using the “Versions” feature. This feature allows you to save checkpoints of your work at different stages, making it easier to revert to a previous version if needed. To access this feature, click on the “File” tab, select “Info,” and click on “Versions” under the “Manage Workbook” section.
Cloud Storage: Excel integrates with various cloud storage platforms like OneDrive, Dropbox, or Google Drive, allowing you to save your workbook directly to the cloud. This enables you to access and collaborate on your workbook from different devices or share it with others securely.
With these simple steps, you should now be able to create and save workbooks in Excel. It’s a good practice to develop a habit of saving your work periodically or after making significant modifications.