In Excel, tables provide powerful tools for sorting and filtering data, allowing you to quickly analyze and find the information you need. With few simple steps you can get valuable insight from tables.
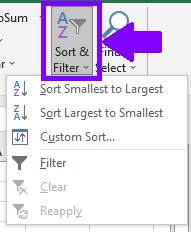
2. Go to the “Home” tab and locate the “Sort & Filter” button group. Click and dropdown menu will appear.
3. Now you will have few options available to sort by:
In descending order
In ascending order
Custom sort
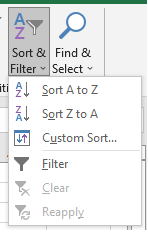
Keep in mind that Excel will automatically offer adequate sorting options whether you are sorting numbers or text column. For numbers, it will offer “Smallest to Largest” option, for text it will offer “A to Z” sorting.
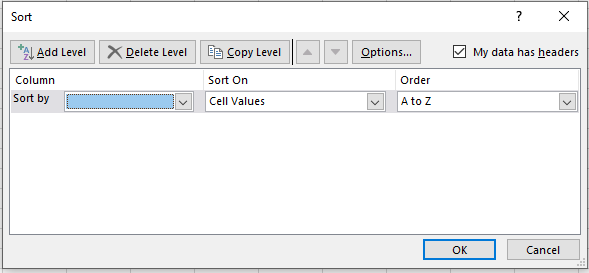
4. If you choose “Custom Sort“, “Sort dialog box” will appear.
5. In the dialog box, you can choose the column to sort by from the “Sort by” dropdown list, and specify the sort order as either “Ascending” (smallest to largest) or “Descending” (largest to smallest).
6. If you have multiple levels of sorting, click on the “Add Level” button to add additional sorting criteria.
Filtering Data in a Table
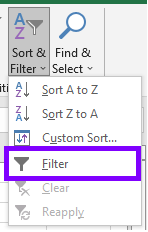
1. Within “Sort & Filter” button group, you have an option to filter values.
2. Click on the “Filter” button. This will add filter arrows to the header row of each column in the table.
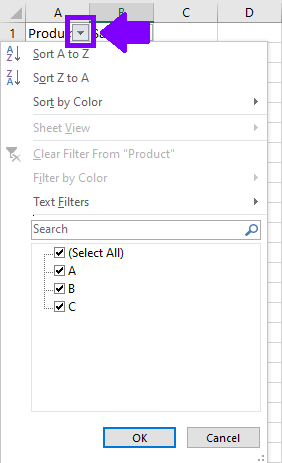
3. Now you can click on the filter arrow for the column you want to filter.
4. From the dropdown menu, you can choose to filter by specific values, text, numbers, dates, or apply advanced filter criteria.
5. To remove a filter, click on the filter arrow again and select “Clear Filter” or use the “Clear” button in the “Sort & Filter” group.
Sorting and filtering data in tables provide a dynamic way to analyze and manipulate your data. You can sort data to arrange it in a specific order and filter data to focus on specific criteria or patterns. These features enable you to quickly identify trends, outliers, or specific data points of interest.